Here’s a great idea to consider for what to do with all the fresh edible bounty you’ll harvest from your Pacific Northwest garden when you’re making your general gardening plans, especially during spring. Sometimes, even after consuming them, selling at a farmers market, and giving some away to friends and family, you still have more than enough left.
Well, you don’t have to force yourself to eat more fresh fruits and salads, or try to invent new ways to include vegetables in your sandwiches. There are numerous ways to preserve them for later use, including freezing, canning, drying, and pickling them. In this article, we will be sharing the steps for preserving your garden’s bounty through drying.
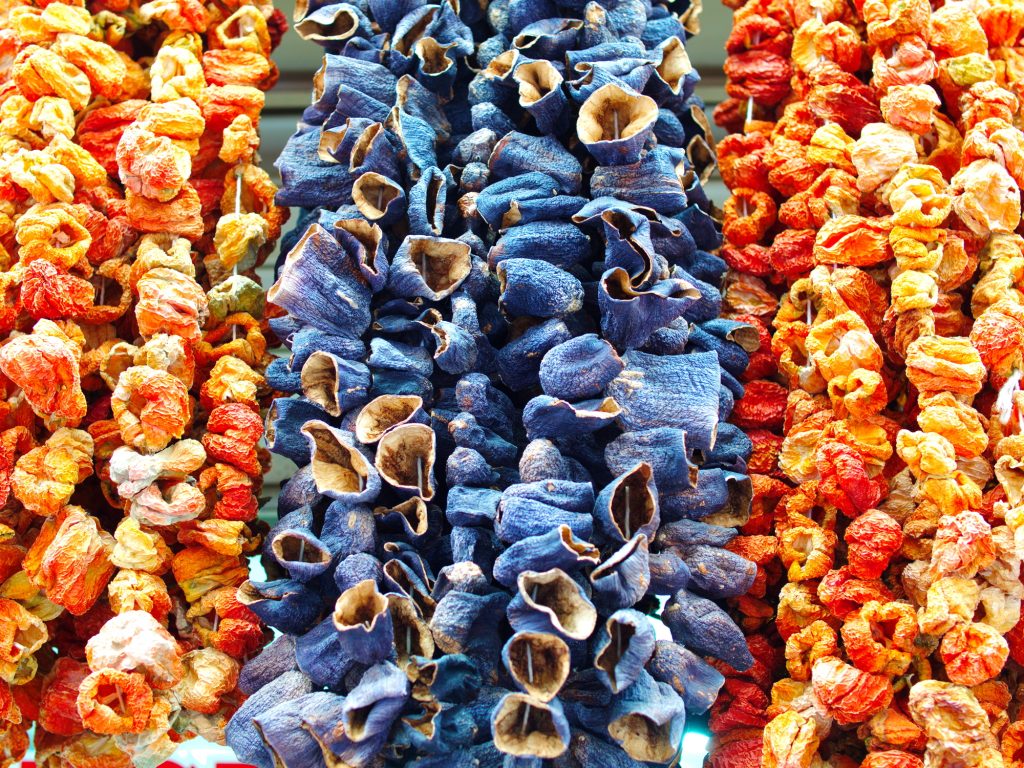
How to Preserve Your Fruits and Vegetables through Drying
A lot of fruits and vegetables can be dried for long term storage and later consumption. Dried fruits and vegetables are just as tasty and nutritious as fresh ones, so you don’t have to worry about a loss of taste or nutrients. They also have the advantage of being lightweight, and they take very little space compared to canned and frozen food.
Dried produce also lasts very long, so you can be sure to have them long after they are out of season. After drying, your fruits and vegetables can be stored in plastic bags or jars, and then kept in a cool, dry space for weeks.
There are different methods of drying, including using a dehydrator, oven drying, sun drying, or room drying. The method you use depends on you and the type of garden produce.
4 Steps for Drying Your Fruits and Vegetables
Outlined below are the four general steps to effectively preserve your garden’s bounty through drying, so you can enjoy them later.
Step #1: Preparation
You have to prepare the fruit or vegetable by thoroughly cleaning to remove debris or dirt, as well as moisture. After washing, simply drain and blot dry with a lint-free towel. After excess moisture is removed, cut away unwanted parts such as pods in beans, rinds in winter squash, and stems in vegetables. Finally, cut vegetables like tomatoes or peppers into slices.
Step #2: Blanching
Just like if you were freezing the produce, you need to blanch your vegetables, by briefly immersing them in boiling water. This blanching step destroys enzymes that would otherwise survive the dehydration process and cause the food to decline in quality over time. However, your fruits should not be blanched because that will change their taste. After blanching your vegetables, cool with ice water, drain, then allow to dry.
Step #3: Drying
This is the most important procedure. We recommend drying with your oven. However, ensure that you set the oven to the lowest temperature setting (usually 170 degrees Fahrenheit). Place the fruits or vegetables in a single layer on a baking sheet, then insert in the oven and keep the door slightly open. Drying with your oven can be done within 2-24 hours depending on the produce.
Step #4: Storage
After you are done drying, the next step is to pack the fruits or vegetables away and put them in airtight containers. You can also use zip-top plastic bags or glass mason jars if you like. You must ensure that you use containers that are about the same size as the produce. to keep their flavors for as long as possible.
With these steps, you can dry and preserve your fruits and vegetables, so your bounty does not go to waste. Remember to always monitor your produce during the drying process, as they could become too dry if you let them stay in the oven for too long.
If you need help preparing your garden to yield a bountiful harvest, you can contact us at Levy’s Lawn and Landscaping today!