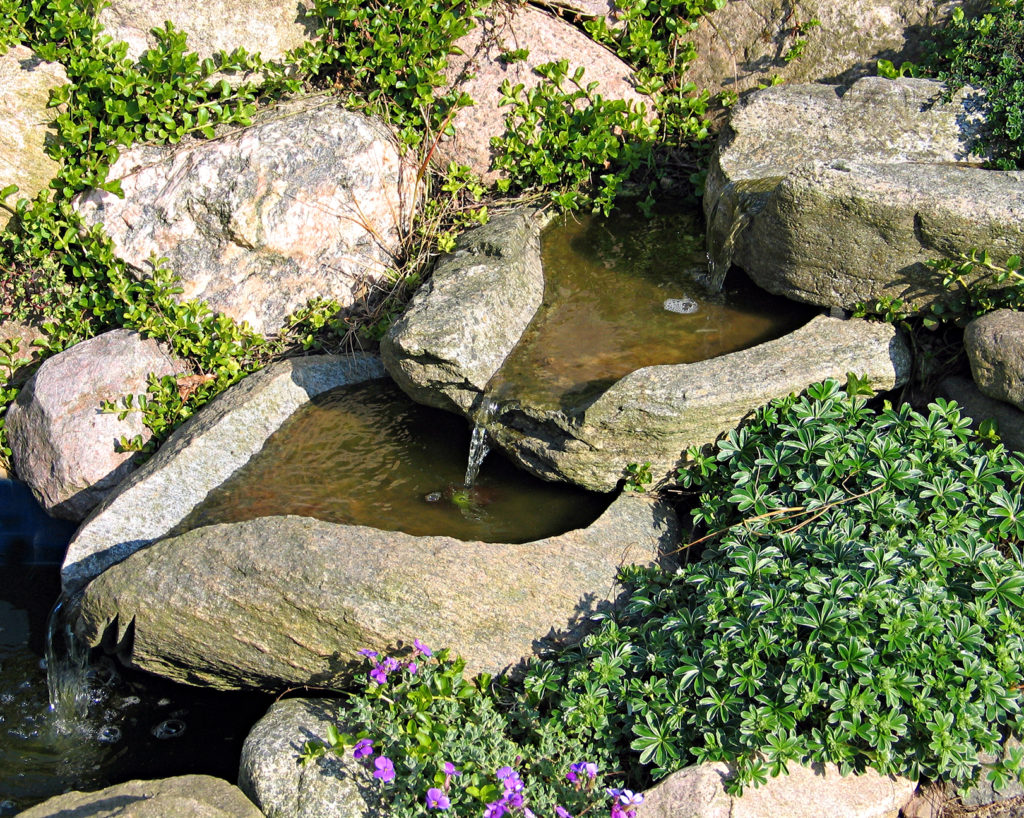
If you live in the Seattle, West Seattle, Bainbridge Island or other vicinities of the Pacific Northwest, chances are good that A) your yard might be on or contain a slope; and B) you experience abundant rainfall. We expect and appreciate the rain and the rolling hills. What none of us likes is for our garden or lawn to slowly disappear, being washed away by the rain. Not only that, rainwater can pool in the ground below the slope, leaving a swamp or muddy mess. What’s a gardener to do?
How about adding a dry creek bed to your yard?
Your dry creek bed will be used to direct water flow to another area. Make sure you are not draining it into the road, a neighbor’s yard, or another area of your yard that can’t handle the extra water. You don’t want to create more problems than you started with. You’ll need to do some planning before installing your dry creek bed. Here are a few steps to follow:
- Mark the edges of where you would like your dry creek bed to be. How high up do you want to start it? Where will it end? Generally, you’ll want a meandering edge to create a natural looking feature. You might need to grade your slope before building your dry creek bed. (We’ve got all the equipment needed if you don’t want to do the job yourself.)
- At the top of your bed, add some boulders or plants to disguise the headwater source.
- End the bed in another area of your yard that is sandy or can tolerate excess water. Or, you might want to end it in a pond, rain garden or other water feature. If your only choice for ending the creek bed is the street, make sure you obtain something in writing from your local public works before starting.
- Measure the depth and width. It doesn’t have to be the same depth and width throughout. In fact, the more irregular, the more natural looking your dry creek bed will be.
- If your yard is strewn with rocks and roots, you might need professional help. Give us a call if you need us to excavate. Otherwise, you can use a shovel to excavate and build mounds at the edges as you work. Tamp down the edges.
- After you’ve built your trench, place landscape fabric along the entire length of the creek bed. Use fabric pins or garden staples to keep it in place. You can also pour a channel or mortar, however, if you can help it, avoid the concrete mortar.
- Use rocks and stones of varying sizes to create a natural appeal. Add river rocks in the center of the channel. Larger rocks can be placed along the sides.
- If you like, add plants along the edges. You might even place a bridge over a section of the creek. Or, some garden supply stores carry stone or concrete “salmon” to place throughout the bed.
Have fun with your new dry creek bed. You’ll get lots of compliments for your hard work.
